

There is something uniquely inviting about a well-maintained wooden deck. It serves as the natural bridge between your indoor living space and the great outdoors, hosting everything from quiet morning coffees to lively summer barbecues. Yet, time is rarely kind to outdoor wood. Constant exposure to punishing ultraviolet rays, seasonal rain, winter snow, and everyday foot traffic takes a severe toll. Slowly and insidiously, the rich, warm tones of cedar, redwood, or pressure-treated pine fade away, replaced by an unforgiving, chalky gray patina.
When a deck reaches this weathered stage, many homeowners assume the damage is permanent and start pricing out a total replacement. Fortunately, wood is remarkably resilient. Beneath that tired, gray outer layer lies sound, beautiful lumber just waiting to be uncovered. Restoring a faded deck is not a weekend magic trick; it is a labor-intensive process that requires patience, elbow grease, and strict attention to detail. However, when done correctly, the transformation is nothing short of breathtaking. Here is a comprehensive guide to bringing your outdoor living space back to life.
Assessing the Health of Your Deck
Before you pick up a single tool or chemical cleaner, you need to conduct a thorough structural and material assessment. Not all gray wood is salvageable, and it is vital to distinguish between cosmetic weathering and structural failure. Walk across every square inch of the surface, listening for creaks, feeling for soft spots, and looking closely at structural joints.
Start by examining the high-stress areas, such as stair treads, ledger boards attached to your home, and posts embedded in or resting near the ground. Use a flathead screwdriver or an ice pick to probe the wood in suspicious spots. If the tool sinks deeply into the wood with little resistance or if the material crumbles easily, you are dealing with wood rot. Surface graying is caused by UV degradation of lignin, the natural glue holding wood fibers together, which is entirely normal and harmless. Rot, on the other hand, is fungal decay fueled by trapped moisture and requires replacing the affected boards entirely before you proceed with any cosmetic restoration.
Gathering the Right Tools and Supplies
A successful deck restoration project hinges on using the correct products and equipment. Cutting corners here will show up in the final finish.
For preparation and cleaning, you will need a stiff-bristled deck brush with a long handle, a garden hose with a spray nozzle, safety gear including eye protection and rubber gloves, and a tarp to protect surrounding landscaping. Depending on the condition of your deck, you will also need a commercial wood cleaner or wood stripper to break down old sealants and lift ground-in dirt.
For the restoration phase, pick up a wood brightener, which is typically oxalic acid-based. This product is non-negotiable if you want professional results, as it neutralizes the cleaner and restores the wood’s natural pH balance. You will also need a random orbital sander with 60-grit or 80-grit sandpaper, a stain pad or high-quality brush, and your chosen deck stain and sealer. When choosing a stain, remember that transparent formulas offer minimal UV protection but show the wood grain, while semi-transparent and semi-solid options provide a richer color while still allowing some grain texture to peek through.
Step One: Preparation and Minor Repairs
Clear everything off the deck surface, including furniture, planters, grills, and decorative items. Once the deck is completely empty, sweep away leaves, pine needles, and accumulated debris from between the deck boards. Debris packed tightly in the gaps prevents proper drainage and traps moisture, which accelerates wood decay.
Next, address structural hardware. Over time, seasonal expansion and contraction cause nails to pop up and screws to back out. Drive any protruding nails flush using a hammer and a nail set, or pull them out entirely and replace them with exterior-grade deck screws. Screws provide vastly superior holding power and will keep your boards secure for years to come. Replace any severely split, warped, or rotted boards with matching new lumber so the entire surface looks cohesive once finished.
Step Two: Deep Cleaning and Stripping
With the deck structurally sound and cleared, it is time to remove years of accumulated grime, mold, mildew, and dead wood fibers. If your deck has lingering remnants of old, failing clear-coat or tinted finish, you must use a heavy-duty wood stripper. If it is just bare, gray wood that needs a deep clean, a standard oxygen-based wood cleaner will suffice.
Mix and apply your chosen cleaner following the manufacturer instructions, typically working in manageable sections of about one hundred square feet at a time to prevent the solution from drying out on the wood. Allow the cleaner to dwell on the surface for the specified duration, usually around ten to fifteen minutes, giving it time to break down organic buildup.
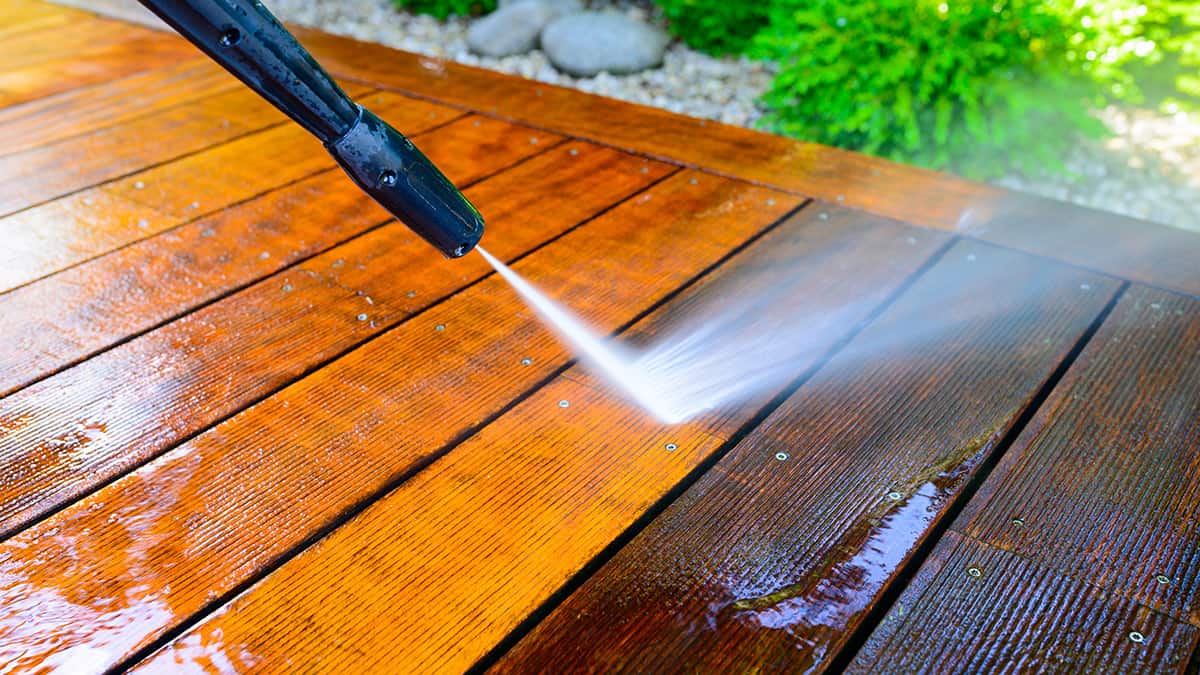
Scrub the boards vigorously using your stiff-bristled brush, moving consistently in the direction of the wood grain. Avoid circular motions, which can leave noticeable scratch marks in softer lumbers like pine. Once you have scrubbed a section, rinse it thoroughly with clean water. If you use a pressure washer, exercise extreme caution. Keep the nozzle at least twelve inches away from the wood surface and use a wide-angle fan tip. Holding a high-pressure stream too close can easily gouge, fuzz, or permanently scar the wood fibers, creating a patchy appearance that requires heavy sanding to correct.
Step Three: Neutralizing and Brightening the Wood
Many DIYers skip this step, but it is the secret weapon of professional carpenters. Strippers and heavy cleaners are highly alkaline, which turns gray wood a dark, muddy brown and raises the wood pH. To reset the wood chemistry and bring back its bright, vibrant, natural undertones, you must apply a wood brightener.
Wood brightener neutralizes the alkaline residue left behind by the cleaning agents, opens up the wood pores so they can readily accept stain, and halts any chemical processes that might otherwise degrade your new finish. Apply the brightener evenly across the damp deck using a pump sprayer or roller, let it sit for about ten to fifteen minutes, and then rinse it thoroughly with clean water. As the brightener does its work, you will actually watch the dull gray color vanish before your eyes, replaced by the warm, clean baseline tone of healthy wood.
Step Four: Sanding for a Smooth Finish
The combination of cleaning, stripping, and brightening raises the grain of the wood, leaving the surface feeling rough, fuzzy, or textured. Furthermore, stubborn gray spots that resisted chemical cleaning can easily be erased with a light pass of a sander.
Allow the deck to dry completely for at least forty-eight hours. Moisture trapped inside the wood will ruin your stain adhesion, leading to premature peeling and bubbling. Once the moisture meter reads safely low, take an orbital sander equipped with 60-grit or 80-grit sandpaper to the entire surface. Sanding smooths out the raised fibers, creates a uniform profile, and opens up tightly sealed wood pores. Pay special attention to high-traffic zones and handrails where splinters are common. Vacuum or blow away all sanding dust meticulously before moving to the final stage.
Step Five: Applying Stain and Sealer
The final step in your restoration journey is protecting your hard work from future weathering by applying a premium-grade exterior stain and sealer. Choose between oil-based and water-based formulations based on your local climate regulations and personal preference. Oil-based stains penetrate deeply into the wood fibers and offer exceptional moisture resistance, while water-based options dry faster, emit fewer odors, and clean up easily with soap and water.
When applying the stain, work methodically. Never try to paint the entire deck all at once. Instead, stain two to three continuous boards from one end to the other, maintaining a wet edge to avoid overlapping marks that look darker than the surrounding areas. Use a staining pad or brush to work the product deep into the grain, and immediately back-brush any pooled puddles. Wood can only absorb so much liquid; leaving excess stain on the surface will result in a sticky, glossy film that peels away under foot traffic.
Allow the first coat to dry according to the manufacturer guidelines, and apply a second coat if the product recommendations and wood porosity require it. Keep foot traffic off the newly finished deck for at least twenty-four to forty-eight hours, and give it a full week to fully cure before dragging heavy furniture back across the surface.
Maintaining Your Restored Deck
Once your deck looks brand new, keeping it that way requires minimal but consistent upkeep. Sweep away leaves and debris weekly to prevent organic matter from holding moisture against the finish. Wash the deck once or twice a year with a mild detergent and water solution to lift surface dirt. By investing a little time and effort into proper seasonal care, you will protect your restored wooden deck from fading into gray obscurity for years to come.

Comments are closed.