
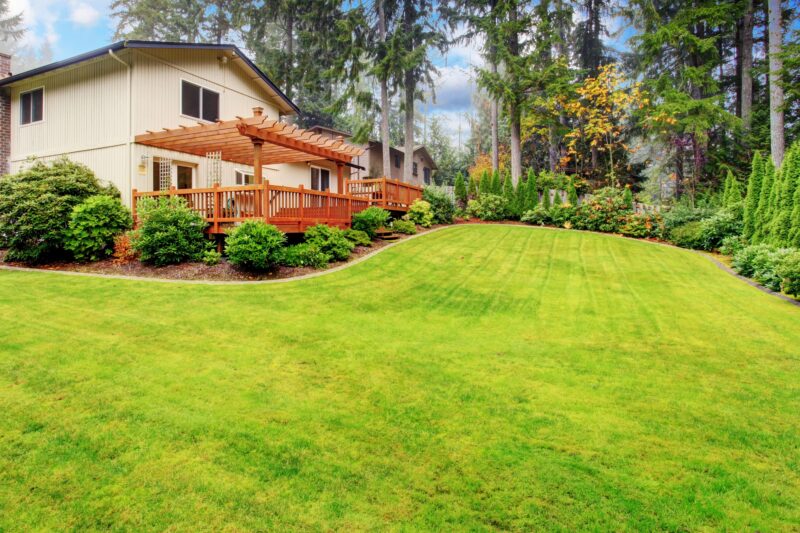

There is a distinct kind of frustration that comes with walking across your yard only to catch your foot in an unexpected dip, stumble over a hidden ridge, or watch your lawnmower blade scalp a random patch of earth because the ground is uneven. A pristine, flat lawn provides the ultimate foundation for an inviting outdoor living space. Yet, over time, nature and physics conspire to create ruts, dips, and sinkholes. Whether you are dealing with a few shallow depressions that collect standing water after a heavy rain or significant sinking near your home foundation, uneven ground is more than just an aesthetic eyesore. It poses genuine tripping hazards, damages turf health, and can frustrate your routine lawn care maintenance.
Fixing a sinking lawn is entirely manageable, but it requires more than just dumping a bag of topsoil into a hole and hoping for the best. To achieve a permanent fix, you must understand why the ground sank in the first place, choose the right repair technique based on the depth of the depression, and protect your grass during the process. Here is a comprehensive, professional guide to diagnosing uneven terrain and restoring your lawn to a smooth, safe surface.
Diagnosing the Root Cause of Uneven Ground
Before you pick up a shovel or order a truckload of soil, you need to play detective. If you fix a sinking spot without addressing the underlying cause, the ground will likely sink right back down in a few months. Uneven terrain rarely happens by accident; it is usually the result of specific environmental or structural factors beneath the surface.
One of the most frequent culprits is decomposing organic matter. When homes are built, contractors occasionally bury construction debris, old tree stumps, scrap lumber, or clearing brush right beneath the topsoil. As these materials slowly rot and break down over the years, the earth above them collapses into the void, creating sudden depressions. Another common cause is soil settlement following utility work. If plumbing lines, electrical conduits, or sewer pipes were recently installed or repaired on your property, the backfilled trench often settles unevenly if it was not properly compacted layer by layer.
Water movement also plays a massive role. Underground leaks from irrigation lines or downspouts discharging too close to the foundation can saturate the soil, wash away fine particles through a process called subsurface erosion, and cause the ground to drop. Finally, natural soil composition matters significantly. Yards with high clay content expand and contract dramatically with moisture changes, while sandy soils are prone to shifting under heavy foot traffic or equipment weight.
Determining the Right Repair Strategy
Not all uneven spots require the same treatment. The depth of the depression dictates your entire approach.
For shallow dips measuring less than two inches deep, you can utilize a simple top-dressing technique. The existing grass can easily grow through a thin layer of soil without suffocating, meaning you do not have to dig up your turf.
For deep holes, ruts, or depressions deeper than two inches, top-dressing alone will not work. If you pile four inches of soil on top of healthy grass, the grass blades will suffocate and die, leaving you with a muddy patch that takes months to recover. For these deeper problem areas, you must use the cut-and-lift sod method, which involves peeling back the grass, filling the cavity underneath, and relaying the turf over the leveled earth.
Step-by-Step Guide for Minor Dips and Shallow Depressions
If your lawn has minor, gradual undulations that cause puddles to form after rainstorms, fixing them is a straightforward weekend project.
Creating the Ideal Top-Dressing Mix
Do not just use plain topsoil straight out of a bag, as heavy clay or pure topsoil can compact tightly and create drainage issues of its own. Instead, mix a custom blend consisting of equal parts topsoil, sharp builder sand, and finely composted organic matter. The sand ensures the mixture drains well and resists compaction, the topsoil provides structural body, and the compost feeds the grass roots as they recover.
Applying the Top-Dressing
Mow your lawn relatively short in the problem area so you can see the contours of the depression clearly. Shovel your custom soil mix into the dips, and use the flat back of a landscape rake or a push broom to spread the material evenly across the depression. Work the soil down between the grass blades so that the tips of the grass remain exposed to sunlight.
Leveling and Watering
Use a leveling rake to feather the edges of the new soil out into the surrounding lawn so there are no harsh transition lines. Once the area is smooth, water the lawn gently but thoroughly. Watering settles the soil naturally into the microscopic gaps around the grass roots. Over the next two to three weeks, your grass will actively grow up through the thin layer of new soil, successfully erasing the dip.
Handling Major Dips and Sinking Turf Slabs
When you encounter deep ruts, severe settling, or drop-offs deeper than a couple of inches, you need to lift the turf to correct the grade properly.
Cutting and Rolling Back the Sod
Using a sharp flat-nosed shovel or a specialized sod-cutting tool, slice a grid or a U-shaped flap around the sunken area. Cut down about two to three inches into the root zone. Carefully slide your shovel underneath the grass roots and peel the slab of sod back like a carpet, keeping it attached at one edge if possible, or setting it aside on a tarp to keep the roots moist.
Excavating and Filling the Cavity
With the sod removed, inspect the exposed subsoil. Fill the depression with a stable fill material, such as a compacted blend of soil and gravel for deep holes, followed by your topsoil-sand-compost mix. Tamp the fill down firmly in layers using a hand tamper or the flat end of a 4×4 post. Proper compaction is critical here; if you do not pack the soil down, it will compress further under future foot traffic, causing the spot to sink again. Leave the filled area slightly higher than the surrounding grade—about half an inch to an inch—to account for natural settling.
Relaying and Securing the Turf
Lay your rolled-back sod neatly over the freshly leveled and tamped earth. Step gently on the turf to ensure complete, firm contact between the roots and the new soil. If the edges do not line up perfectly, patch any small gaps with loose soil or grass seed. Water the area heavily immediately after relaying, and keep it consistently moist for the next ten days to help the roots re-establish themselves quickly.
Addressing Underlying Drainage Problems
If your sinking lawn is driven by water runoff or pooling, simply filling the dip is a temporary band-aid. You must manage the water flow to protect your hard work. Check your roof downspouts and ensure they extend at least six to ten feet away from your foundation and low spots in the yard. If water continues to collect in a specific zone, consider installing a simple French drain system or shaping a gentle swale to guide surface water safely toward the street or a designated drainage easement.
Preventive Maintenance for a Smooth Lawn
Once your yard is smooth and level, maintaining that condition requires mindful lawn care practices. Avoid driving heavy vehicles, large trucks, or commercial construction equipment across your lawn when the ground is saturated with water, as this creates deep ruts that are difficult to fix. Core aerate your lawn once a year to relieve soil compaction and encourage deep, robust root growth that naturally stabilizes the earth. By staying proactive and addressing minor dips before they turn into major sinkholes, you will keep your outdoor space safe, beautiful, and perfectly level year-round.

Comments are closed.